


Water Heater Installation in Overland Park, KS
Experiencing water heater issues in Overland Park? Contact All Day Comfort Heating and Cooling for immediate installation and repair services. Secure your home's comfort today!
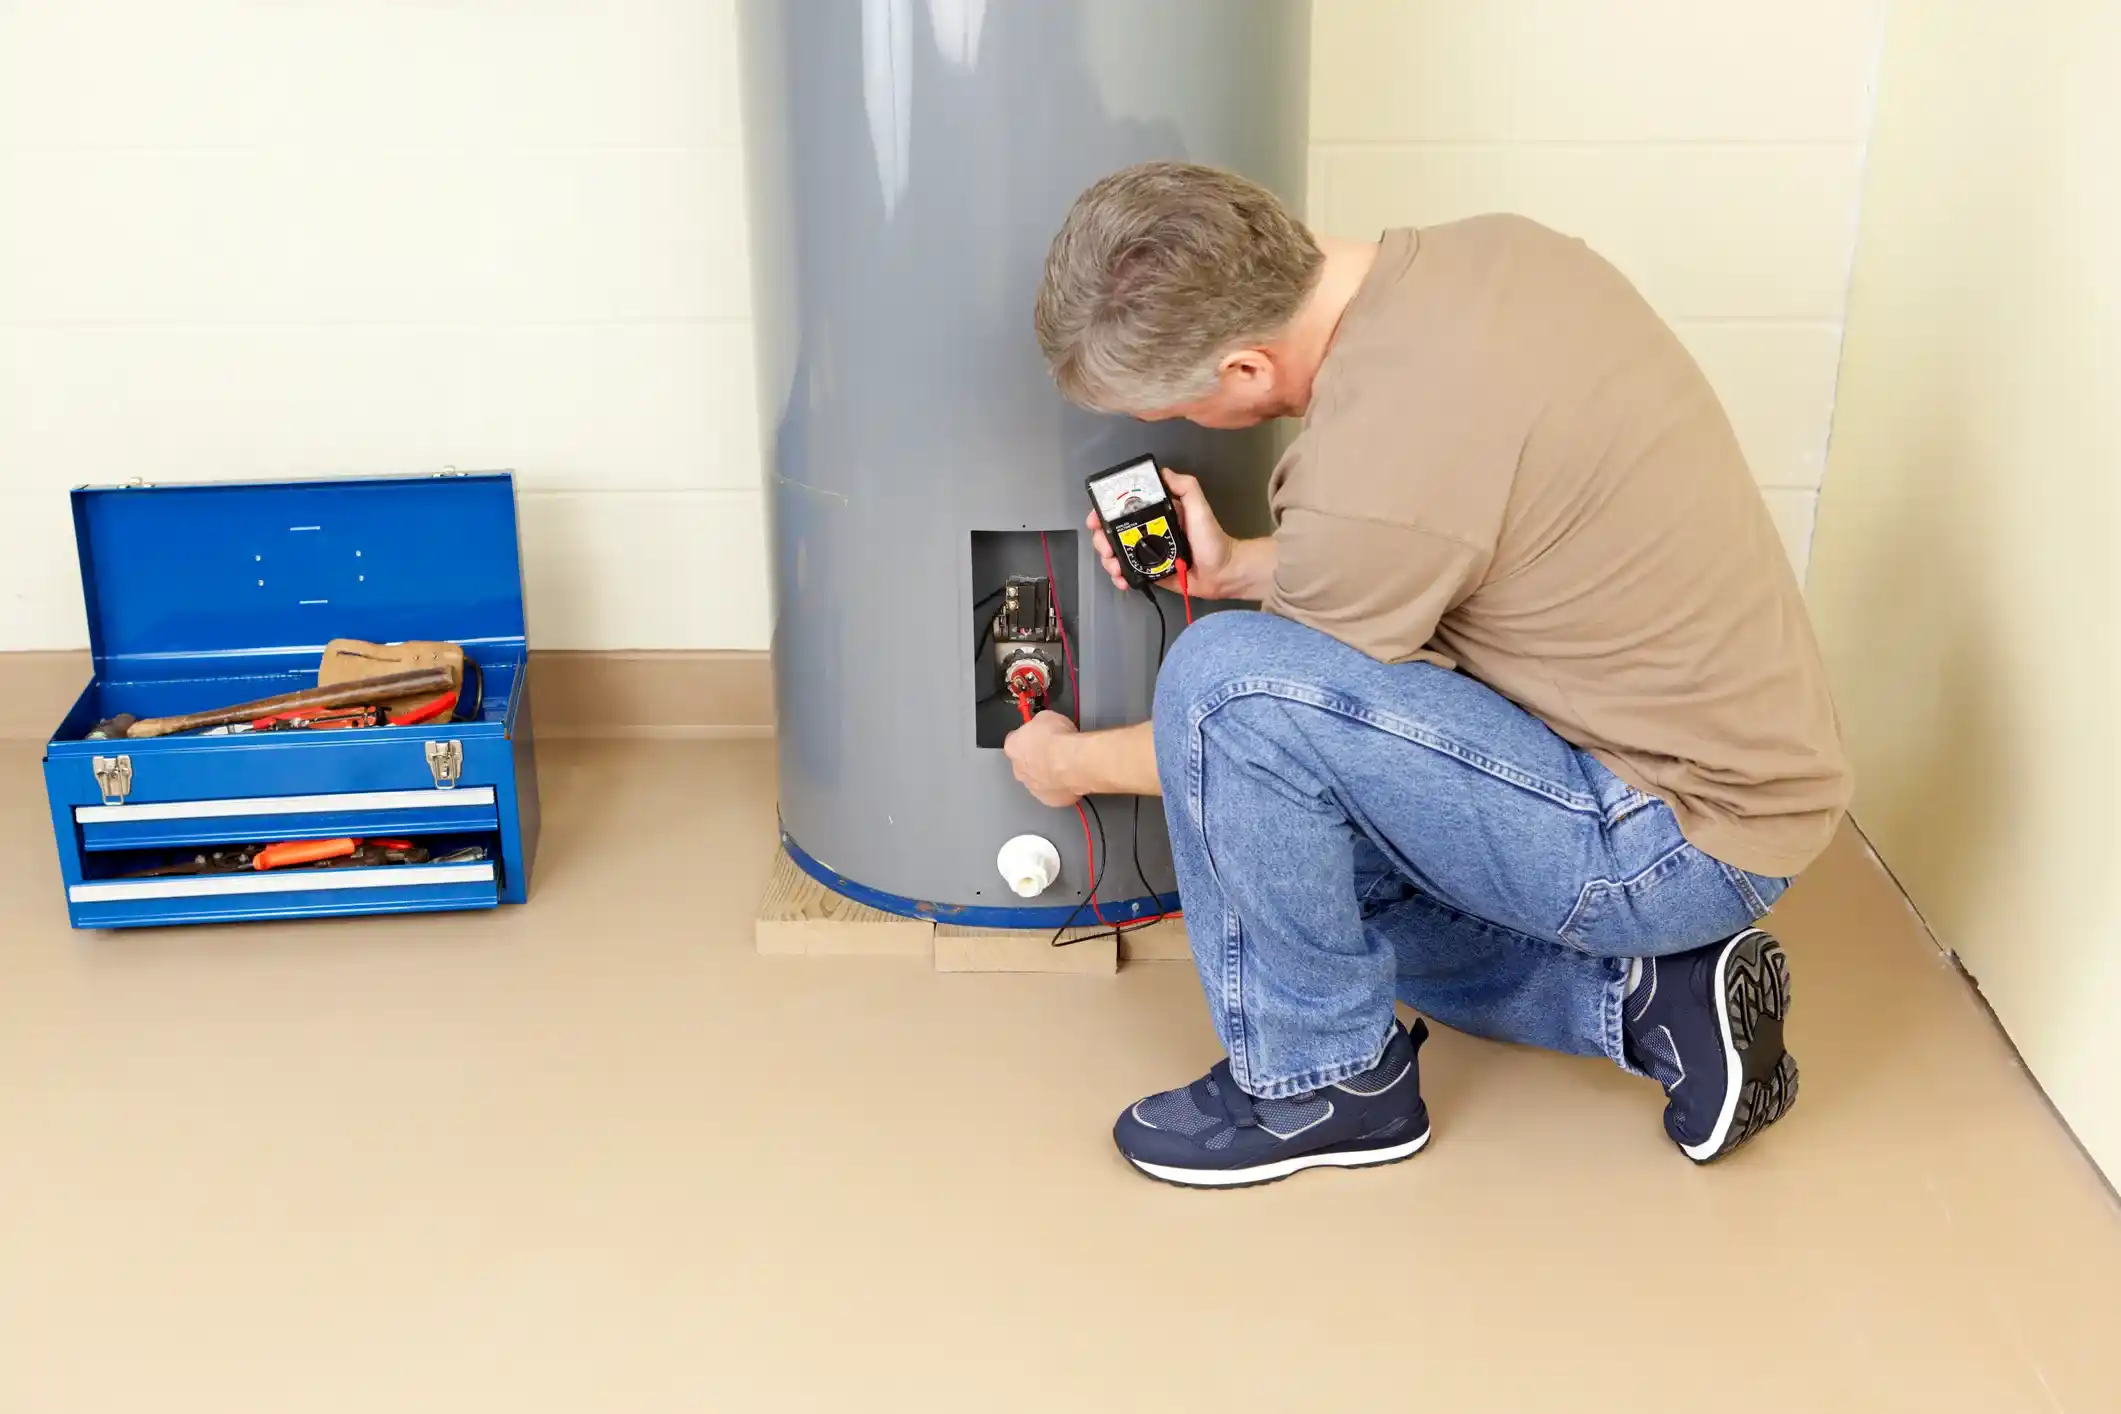
Hot Water System Failures Require Immediate Professional Attention
Is your water heater failing just when you need it the most, leaving your household with freezing showers or leaks that threaten your flooring? Don’t endure another cold shower or risk water damage—request service to schedule your installation or repair immediately.
Residents in Overland Park know that a functional water heater is not a luxury; it is a necessity for sanitation and comfort. When a unit malfunctions, it disrupts daily routines and can lead to significant property damage if leaks go unchecked. All Day Comfort Heating and Cooling LLC provides rapid response times to assess the failure, mitigate damage, and restore hot water access. Whether the issue stems from a burnt-out heating element, a sediment-filled tank, or a catastrophic leak, our team is equipped to handle the situation with urgency and precision.
- Receive same-day installation or assessment to restore your comfort quickly.
- Benefit from experienced technicians who ensure a seamless setup compliant with local codes.
- Enjoy peace of mind with our full warranty and satisfaction guarantee on all new units.
Fully licensed and insured, we handle all necessary permits and offer flexible financing options to make your replacement stress-free.
Comprehensive Water Heater Installation Services Available Today
When you schedule a service visit, the objective is to provide a permanent solution to your hot water needs rather than a temporary patch. Modern households have varying demands based on family size, usage patterns, and fixture flow rates. A professional installation service encompasses much more than simply swapping one metal tank for another. It involves a complete assessment of your home’s plumbing infrastructure, gas line capacity (for gas units), and electrical panel load (for electric units) to ensure the new system operates at peak efficiency.
Scope of Service
Upon arrival, technicians prioritize the safety of your home. If a unit is leaking, the water supply is isolated immediately to prevent structural damage. If the unit is gas-powered, the gas supply is shut off and tested for integrity. The service includes the removal and environmentally responsible disposal of the old unit, ensuring that heavy, sediment-filled tanks are taken off your property without damaging floors or walls.
Available System Types
Homeowners have distinct options when upgrading their systems. Understanding these options is part of the service consultation provided on-site:
- Traditional Tank Water Heaters: These systems store a specific volume of hot water (typically 40, 50, or 75 gallons) ready for use. They are generally lower in upfront costs and are the standard for many homes. Modern tanks feature higher insulation ratings to minimize standby heat loss.
- Tankless (On-Demand) Water Heaters: These units heat water only when a faucet is turned on. They offer unlimited hot water and are highly energy-efficient, though they often require upgrades to gas lines or electrical circuits due to their high power demand during operation.
- Hybrid Heat Pump Water Heaters: These electric units capture heat from the surrounding air and transfer it to the water, making them incredibly efficient for basements or utility rooms that stay relatively warm.
What is Included in the Installation
A compliant installation involves several critical components that are often overlooked by amateur installers but are standard for professional service:
- Expansion Tanks: Closed-loop plumbing systems require thermal expansion tanks to absorb pressure fluctuations as water heats up, preventing stress on pipes and the heater itself.
- Drip Pans and Drain Lines: To protect finished areas from potential future leaks, new installations include a drain pan plumbed to a suitable drain location.
- New Supply Lines: Reusing old, corroded copper or flex lines is a recipe for failure. New, high-quality dielectric unions and connectors are used to prevent galvanic corrosion.
- Venting Upgrades: For gas units, the venting system must be checked for proper draft. High-efficiency units may require PVC venting to the exterior rather than standard metal flues.
The Installation and Replacement Process Explained
A professional installation follows a rigid protocol designed to ensure safety, code compliance, and longevity of the equipment. While the specific steps may vary slightly between tank and tankless models, the rigorous approach to quality control remains consistent.
Site Assessment and Sizing
- First, the technician calculates the "First Hour Rating" required for your home. This calculation considers the number of bathrooms, peak usage times (e.g., mornings when multiple showers run simultaneously), and the size of appliances like soaking tubs.
- Next, the physical space is measured. New water heaters often have more insulation than older models, making them slightly wider. Ensuring the unit fits within the designated closet or utility corner is a critical pre-installation step.
- Then, utility connections are inspected. For gas units, the gas line diameter is verified to ensure it can supply the BTU requirements of the new unit. For electric units, the breaker amperage and wire gauge are checked against the manufacturer's specifications.
Safe Removal of the Old Unit
- First, the energy source is disconnected. Gas valves are shut, and electric breakers are locked out to prevent accidental re-energization.
- Next, the tank is drained. This process can take time if sediment has built up at the bottom of the tank, blocking the drain valve. Technicians use pumps to expedite this process if necessary.
- Finally, the unit is disconnected from the plumbing and venting systems. Great care is taken to cap off lines to prevent residual water spillage during transport.
Installation of the New System
- First, the new unit is positioned. For tanks, this means leveling the unit on a concrete floor or a specialized stand to prevent tipping and vibration.
- Next, plumbing connections are soldered or pressed. Lead-free solder and code-compliant piping materials are used to connect the cold water inlet and hot water outlet. A shut-off valve is installed on the cold side for future maintenance.
- Then, the temperature and pressure (T&P) relief valve is installed. A discharge tube is run from this valve to within six inches of the floor or a drain, a critical safety requirement to prevent scalding in the event of a pressure spike.
- Following plumbing, the fuel source is connected. Gas connections are leak-tested using electronic sniffers or non-corrosive bubble solutions. Electric connections are tightened to torque specifications to prevent arcing.
- Finally, the tank is filled. A hot water faucet is opened inside the house to purge air from the lines as the tank fills, preventing "dry firing," which can instantly destroy heating elements.
Testing and Commissioning
- First, the system is fired up. Technicians observe the burner flame (for gas) or check the voltage draw (for electric) to ensure operation is within normal parameters.
- Next, the thermostat is adjusted to a safe temperature, typically 120°F, to balance comfort with scald prevention.
- Finally, the technician walks the homeowner through the operation of the unit, including how to shut off gas or water in an emergency and how to check diagnostic codes on modern digital displays.
Deciding Between Repair and Full System Replacement
Homeowners in Overland Park frequently face the dilemma of whether to invest in a repair or opt for a full replacement. While repairs can be cost-effective for minor issues, there are specific scenarios where replacement is the only financially sound decision.
The 50% Rule and Age Factor
- Consider the age of the unit. The average lifespan of a traditional tank water heater is between 8 and 12 years. If a unit is over 10 years old and requires a repair that costs more than 50% of the price of a new unit, replacement is recommended.
- Evaluate the frequency of breakdowns. If a unit has required multiple repairs in the last two years (e.g., new thermostats, elements, or gas valves), the internal components are likely reaching the end of their fatigue life.
Fatal Failures Requiring Replacement
- Leaking Tank Body: If the steel tank itself is leaking, it cannot be repaired. The inner lining has corroded, and the vessel is compromised. This is an emergency replacement scenario.
- Severe Sediment Buildup: Over time, minerals settle at the bottom of the tank. If the tank makes loud rumbling or popping noises (kettling), the sediment layer has hardened. This overheats the metal at the bottom, leading to cracks and inefficiency that flushing cannot resolve.
- Rust-Colored Hot Water: If the hot water is rusty but the cold water is clear, the anode rod has been depleted, and the tank interior is rusting. Once rust sets in, failure is imminent.
Scenarios Where Repair is Viable
- Failed Heating Elements: In electric units, heating elements often burn out. This is a routine maintenance repair.
- Faulty Thermostats: If the water is too hot or too cold, the thermostat may simply need calibration or replacement.
- Pilot Light Issues: For older gas units, a pilot light that won't stay lit is often due to a faulty thermocouple, which is an inexpensive part to replace.
Critical Local Factors and Installation Requirements
Installing a water heater in this region requires specific attention to local climate conditions and municipal regulations. Ignoring these factors can lead to failed inspections or premature equipment failure.
Code Compliance and Permitting
- Local municipalities strictly enforce plumbing codes regarding water heater installations. This includes requirements for seismic strapping (where applicable), expansion tanks, and specific venting clearances.
- Permits are generally required for all replacements. This ensures that a city inspector verifies the work was done correctly, protecting the homeowner’s property value and insurance validity.
- Venting regulations have become stricter. Many older homes have masonry chimneys that are no longer code-compliant for modern, fan-assisted gas water heaters without a chimney liner.
Water Quality and Hardness
- The local water supply contains dissolved minerals, primarily calcium and magnesium. This "hard water" accelerates the corrosion of anode rods and the buildup of scale on heating elements.
- Installations in this area often benefit from the concurrent installation of a water softener or the selection of water heaters with self-cleaning features designed to swirl water and prevent sediment settling.
Seasonal Impact on Performance
- The inlet water temperature fluctuates significantly with the seasons. In winter, groundwater temperatures drop, meaning the water heater must work harder to raise the temperature to the desired 120°F.
- This temperature rise factor (Delta T) is crucial when sizing tankless units. A tankless unit that performs well in July may struggle to provide enough hot water for a shower in January if not properly sized for the winter groundwater temperature.
- Basement installations must be protected from freezing drafts. While the unit itself generates heat, the supply pipes running along exterior walls are vulnerable during severe cold snaps.
Ensuring Long-Term Performance and Safety
When All Day Comfort Heating and Cooling LLC manages a water heater installation, the focus extends beyond the day of service. The goal is to ensure the system operates safely and efficiently for its entire intended lifespan.
Safety Protocols
Water heaters involve powerful energy sources—electricity, natural gas, or propane—and high pressure.
- Carbon Monoxide Prevention: Improperly vented gas heaters can backdraft, pulling deadly carbon monoxide into the living space. Technicians ensure that the vent connector has the proper rise and slope and that the chimney or flue is free of obstructions.
- Gas Leak Prevention: Every joint in the gas piping is tested. Gas leaks can be slow and odorless initially, posing an explosion risk if not perfectly sealed.
- Scald Protection: Mixing valves can be installed to allow the tank to store water at a higher temperature (killing bacteria like Legionella) while delivering it at a safe temperature to the tap.
Efficiency and Cost Savings
- Proper installation maximizes the Uniform Energy Factor (UEF) of the unit. A poorly installed unit with uninsulated pipes will lose heat rapidly, driving up utility bills.
- Technicians apply heat traps or check valves on the inlet and outlet pipes to prevent heat from migrating out of the tank when water is not being used (thermosiphoning).
Warranty Preservation
- Most manufacturer warranties explicitly state that the unit must be installed by a licensed professional for the warranty to be valid. DIY installations often void the parts and labor coverage.
- By utilizing professional services, homeowners ensure that if a component fails prematurely, the warranty claim process will be streamlined and honored by the manufacturer.
Upgrade Your Hot Water System with Expert Water Heater Service
Whether you are upgrading to a high-efficiency tankless model or replacing a leaking tank, professional execution is the key to reliability. Do not let water heater issues disrupt your comfort or damage your home. For expert guidance and immediate service, trust All Day Comfort Heating and Cooling LLC to handle your hot water needs.
Secure your home’s comfort today—schedule your water heater service now.
Contact Us
customer reviews
Areas We Serve


Copyright © 2026 All Day Comfort Heating and Cooling.
All rights reserved.
